The Makerspace with Elias: Portable Charge
November 9, 2017
Right now a hot topic around various colleges is their ability to offer a “makerspace” to students. For those of you who haven’t heard of it, makerspaces are special rooms designed and built on college campuses that contain various items, tools and accessories for the students’ use.
The idea is that attendees of the college will be able to create and design whatever they want through the use of these rooms and their specialized tools. Many contain various types of saws and hand tools, while others are more sophisticated with 3D printers, reflow ovens, elaborate soldering stations, and vinyl cutters from Vinylcuttingmachineguide.
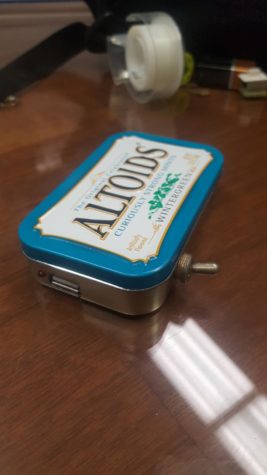
Sadly, most normal people do not have access to these complex machines but may have the desire to build or create something interesting themselves instead of buying an item from the store. That is why I have created this column: to give instructions on how to source parts and build simple projects, as well as to showcase some of my own creations. For the first article I’ll start off simple: a portable charger. Instead of dishing out a lot of money, have some fun and build your own from an Altoids tin.
- Parts: So the first thing you will have to do is make sure you have everything to start. The parts list is fairly simple depending on what you want to add to the basic setup. For this project you will need
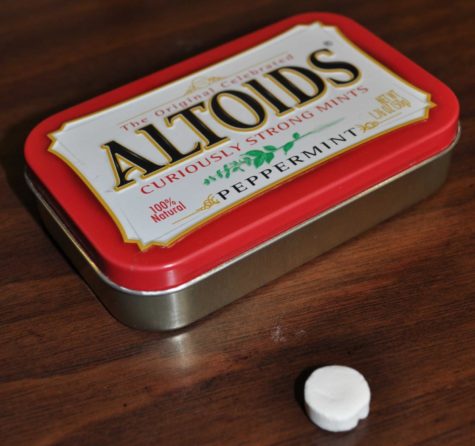
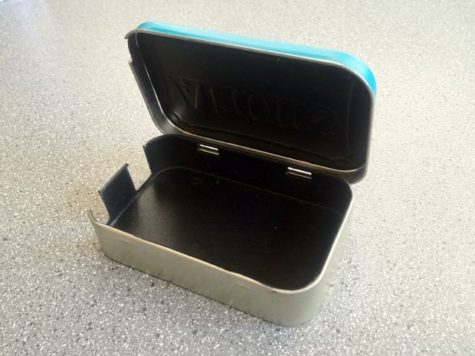
- An altoids tin. The one I used was found in my grandparents’ car
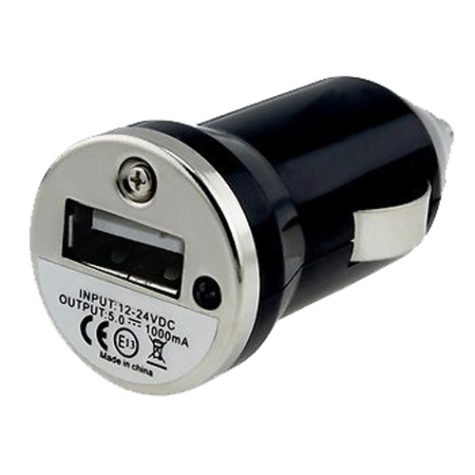
- A USB car charger. I bought mine for about $2.50 at a dollar store
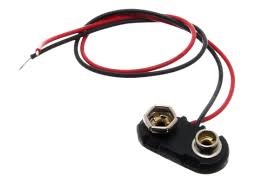
- A 9 volt battery connector (or you can make your own)
- Small diameter wire (I used 22 AWG)
- Hot glue
- Electrical tape
- Optional: Small switch, battery snap
- An altoids tin. The one I used was found in my grandparents’ car
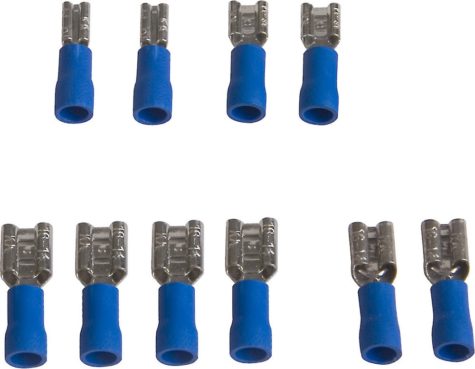
Important Note: If you do not own a soldering iron, you should buy wire connectors and it will make this project much harder.
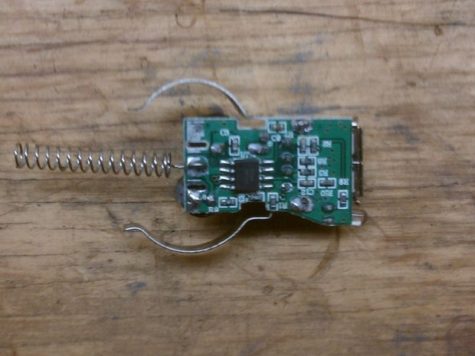
2. So now that you have everything you need it’s time to start to build. Begin by taking apart the USB car charger. Normal ones like mine will have two screws at the bottom that need to be removed before you can get the back plate off. Once you do, twist off the metal cover that holds on the positive “nub” or the part that at the front of the charger that springs out when pressed in. It should look like this outside the case:
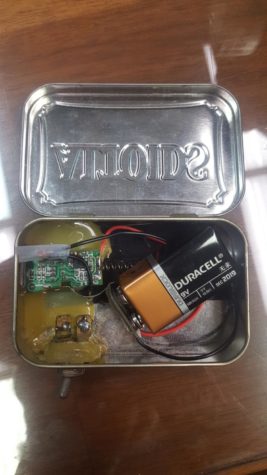
3. Moving on, line the interior of your altoids tin with electrical tape. This will prevent anything from shorting out on the inside of the box. Cut a hole large enough for the USB port on the charger and place it inside facing out. Hot glue the charger in place
4. Once you have this in it is time to attach your battery snap. The red wire will be positive and the black wire will be negative. On the charger, the spring attached to it is the positive end and the c-shaped silver or chrome bumps on the side are the negative ends. Just solder negative to negative and positive to positive and you’re done!
Without soldering iron:
If you don’t own a soldering iron, now is the time to use your wire connectors. Find a clamp on speaker wire connector that has the right diameter to fit over your wire and is large enough that the flat end slides over the negative connector on the USB charger. To connect the positive ends, find a connector that clamps on both ends. Clamp the spring on one side and your wire in the other.

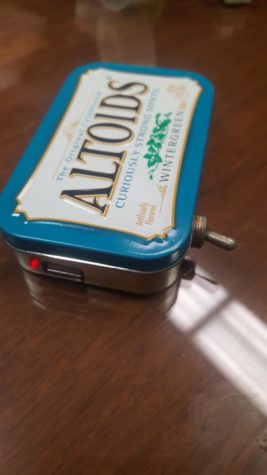
5. If you want to add a switch to turn the charger on and off without having to disconnect the battery, cut another hole in the side of the tin close to the charger (you still want space for your battery/batteries). Glue the switch in. Cut one of your wires so that the cut ends both end near your new switch. Solder one to one of the terminals and the other side of the wire to the other. Make sure that when the switch is in the ON position the current will flow through.

6. To make your own battery snap, cut the top off a used 9V battery. Then solder the negative and positive leads onto the rear where the metal connects (make sure you have these reversed as it will be plugging into another 9V battery). Cover the exposed wires and back of the snap with hot glue to insulate it.
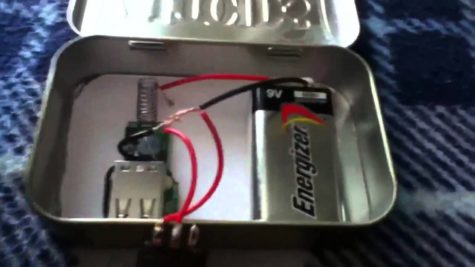
Enjoy your new charger!
Disclaimer:
Like with every homemade item, there is always the possibility of something breaking or not going right. Because of that there is a chance something could go wrong and short out your phone or whatever you’re using to charge at the time. This is really unlikely since the car charger steps down the voltage to 5V but there is still the possibility of your electronics being damaged.
Here is my finished charger: