The Makerspace with Elias: Tesla Coil
January 19, 2018
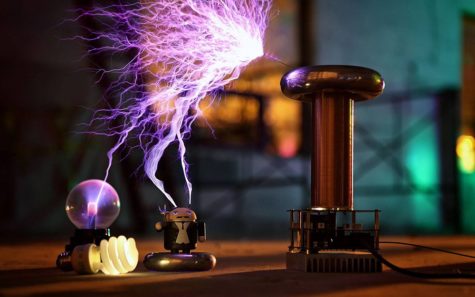
Arguably the most interesting project I have completed (or almost completed) is my tesla coil. A tesla coil is, not surprisingly, an invention by Nikola Tesla that allowed the transfer of electricity through the air without the use of wires. While it used to be an important scientific invention, now they are mostly used for entertainment and fun as personal lightning machines. I bought a kit online from Onetesla with all the parts and instructions required to build it, but I still needed a few supplies. This is the reason I bought my new soldering iron, solder, and desoldering tool. For the work it required I would need all the help I could get.
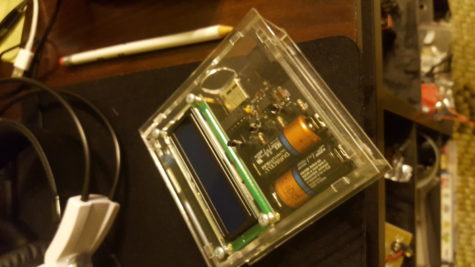
The first item to build was the SD Interruptor. This would allow the tesla coil to be controlled over a distance of 10 feet by the included fiber optic cable. Any closer and the magnetic field created by the high voltage could hurt or destroy electronics. There was even a warning on the box to not assemble or use it if you had a pacemaker. The single circuit board was fairly simple to put together. Only a few resistors and capacitors had to be added and a few IC sockets. (These hold the integrated circuit chips that would be added, but because of their sensitivity they could not be soldered and needed a clip to fit into.) The only relatively hard soldering was on the included screen where 14 pins were positioned very close together, making it difficult to not melt one onto the other.


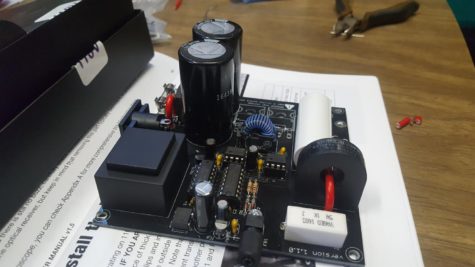
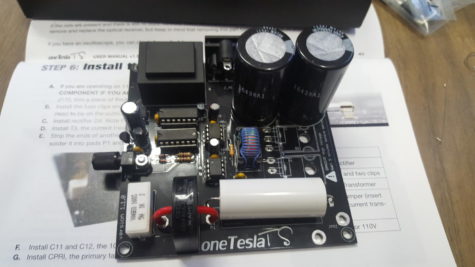
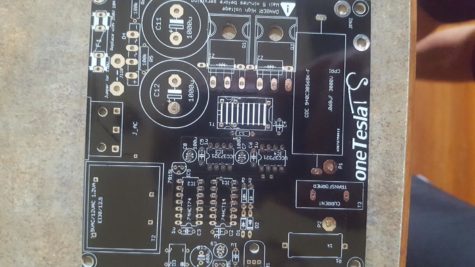
Next came the main board. This will be what drives the tesla coil, so being very precise is important. And mistake could have harmful, and possible explosive, consequences. The build starts off much like the SD Interruptor. The instructions guide you through where to solder the resistors, capacitors, and IC sockets. All are labeled on the board. After a seemingly endless time soldering on various parts, I was… halfway done. The instructions told me to finish up by soldering and gluing on a power socket and attempt a low power test. Plugging up the board to the SD Interruptor, I heard a faint hum, signaling that the board was working properly. With the interruptor I was able to change the volume and frequency of this hum.
The second part of the build was easier and more interesting. The large capacitors were put in as well as a current transformer and other unusual parts. Once all of this was on, I attached the main board to the aluminum heat sink to distribute any excess heat and to provide a stable base.


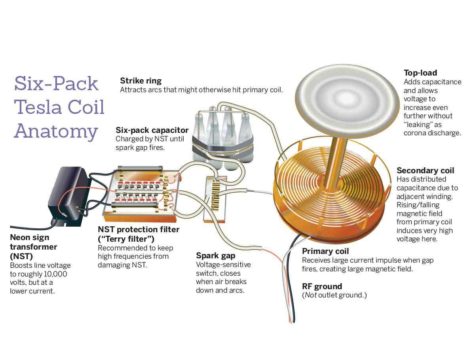
The diagram below is a simplified version of how a tesla coil works. Some people may notice that the kit i bought is much more complicated. That’s because the SD interruptor is made for holding a micro SD card, allowing music to be played. Yes. Music from literal miniature lightning that I can control. There are videos online of other working kits. All you need to do is search up Onetesla on youtube and some good videos are out there.